Bringing Depth to Life with the Elephant 3D Shadow Box Template
There is a specific kind of satisfaction that comes from turning a flat digital file into a tangible object you can hold. It bridges the gap between screen time and real-world creation, offering a break from the endless scroll of social media. The Elephant 3D Shadow Box Template is designed specifically for this transition. It isn't just a picture of an elephant; it is a layered engineering map that allows crafters, small business owners, and hobbyists to build depth, texture, and atmosphere using nothing but paper, light, and a frame.
When you download this resource, you aren't getting a single image. You are receiving a comprehensive zipped file containing SVG, PNG, DXF, and JPG formats. This variety matters because it meets creators where they are. Whether you are running a Cricut or Silhouette machine in your home office, using a laser cutter for a small batch production run, or simply printing layers on heavy cardstock for a weekend project, the file types are ready to go. The SVGs are optimized for a one-click upload process, with all layers pre-grouped. This technical detail saves significant time, removing the frustration of hunting down scattered elements in design software and allowing you to focus immediately on the physical assembly.
Why the Elephant Design Resonates Across Different Projects
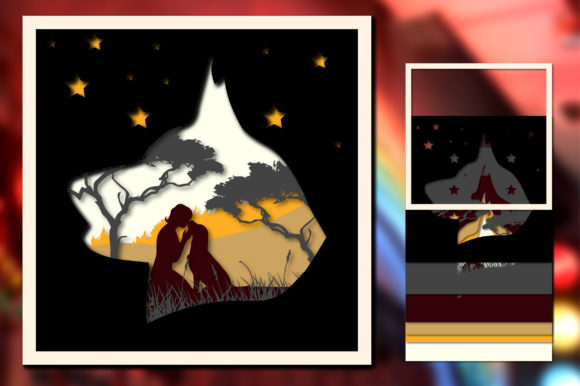
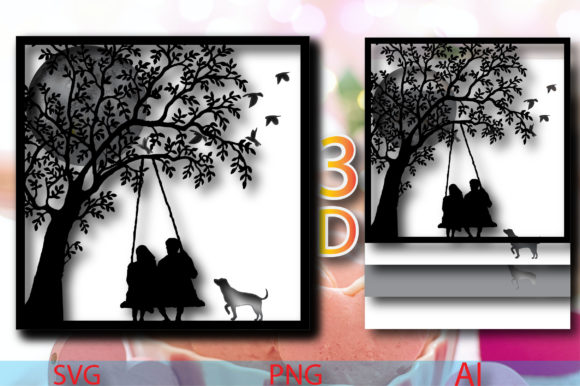
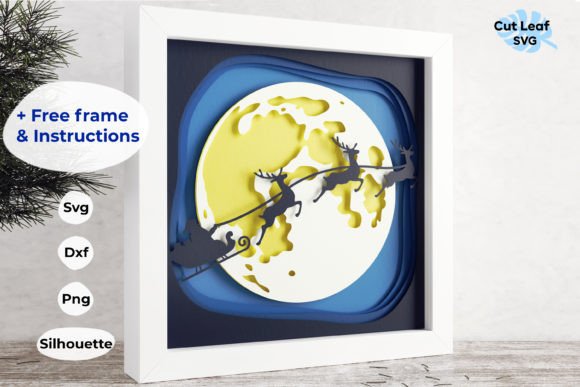
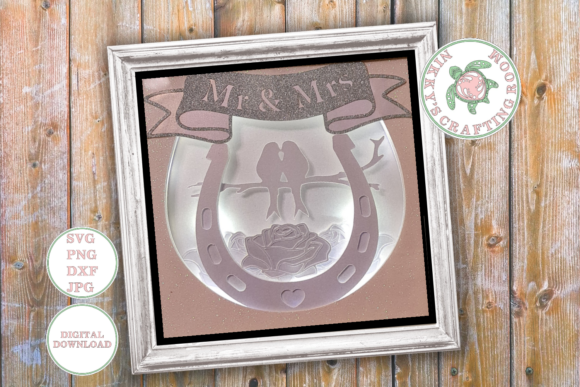
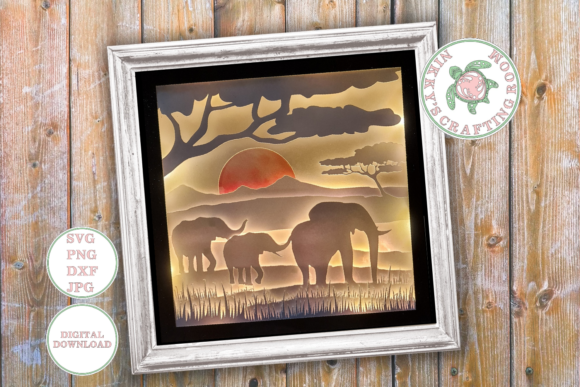
The elephant is a universally recognized symbol of strength, wisdom, and memory. In the context of home decor and gifting, this imagery carries emotional weight that generic patterns often lack. Using a Elephant 3D Shadow Box Template allows you to tap into these associations without needing to be a professional illustrator. The design typically features overlapping layers that create a parallax effect, making the subject appear to float within the frame.
For parents and educators, this template serves as an excellent tool for nursery decor or classroom themes centered on nature and wildlife. Unlike mass-produced posters, a handmade shadow box adds a personal touch that shows effort and care. For entrepreneurs selling handmade goods on platforms like Etsy or at local craft fairs, this template offers a scalable product idea. Because the file includes DXF formats, it is compatible with industrial cutting machines, meaning you can produce dozens of units efficiently while maintaining the high-quality look of a bespoke item.
Practical Assembly: From Digital File to Physical Art
The beauty of this project lies in its accessibility, but the quality of the final result depends heavily on how you handle the materials and the file itself. Before you even touch your glue gun, there are specific technical steps to ensure your layers align perfectly.
When working with the SVG files, the most common mistake users make is ungrouping the layers before resizing. To maintain the integrity of the design, you must keep the layers grouped together. If your software has a padlock icon, keep it locked. When you need to change the size of the elephant to fit a specific frame, resize the width only. This constraint ensures that the aspect ratio remains consistent across all layers, preventing misalignment when you stack them later. If you resize height and width independently or ungroup the elements, the delicate spacing required for the 3D effect will be lost, resulting in a flat, disjointed image.
Once your pieces are cut, the choice of material becomes critical. The template is designed to work best with quality cardstock ranging from 180 to 300gsm. Paper lighter than 180gsm may warp under the tension of the spacers or fail to hold its shape, while anything heavier than 300gsm might be too thick for standard home cutting machines or create excessive bulk in the frame. The goal is to find a balance where the paper is rigid enough to stand alone but thin enough to allow light to pass through if you choose the illuminated route.
Lighting Options: Ambient vs. Illuminated
One of the most versatile aspects of the Elephant 3D Shadow Box Template is its dual functionality. You can assemble it as a traditional, ambient shadow box that relies on external room lighting to cast natural shadows, or you can transform it into a glowing night light or centerpiece.
If you opt for the lit version, the atmosphere changes entirely. The light filters through the gaps between the layers, highlighting the contours of the elephant and creating a warm, inviting glow. To achieve this, you will need a few specific supplies beyond the template:
- LED Fairy Lights: These are ideal because they generate very little heat, which is crucial for enclosed paper projects. Battery-operated strands offer the cleanest look, eliminating the need to drill holes for power cords.
- Glue Gun and Glue Sticks: A low-temperature glue gun is recommended to prevent scorching the cardstock or melting the plastic coating on the fairy lights.
- Spacers: Foam board strips or specialized paper spacers are placed between each layer of the elephant. The thickness of these spacers determines the depth of the 3D effect. Thicker spacers create more dramatic shadows but require a deeper frame.
- Deep Shadow Box Frame: This is non-negotiable for the 3D effect. I recommend a frame no smaller than 8x8 inches. Anything smaller restricts the layering potential and makes the assembly process incredibly difficult due to the lack of working space inside the frame.
Real-World Applications for Creators and Businesses
Beyond personal hobbies, this template fits seamlessly into various professional workflows. Consider a freelance marketer looking to create unique branded content for a client in the travel or wildlife conservation sector. A time-lapse video of assembling this shadow box, paired with the final lit result, provides engaging visual content that stands out against stock photography.
For event planners, these shadow boxes make memorable favors for baby showers or themed parties. By customizing the cardstock color to match the event palette, a generic template becomes a cohesive part of the decor. Educators can use the assembly process as a lesson in geometry and spatial reasoning, showing students how 2D shapes combine to create 3D volume.
Small business owners should also consider the packaging implications. Since the final product involves delicate paper layers and potentially glass frames, shipping requires careful planning. However, selling the "kit" version—where the customer receives the cut files and instructions to assemble it themselves—is a growing market trend. This reduces shipping costs and engages the customer in the creative process, adding perceived value to the purchase.
Considerations Before You Start
Before downloading and starting your project, assess your workspace and tools. Do you have a cutting machine that handles intricate details well? If you are cutting by hand with an X-Acto knife, ensure you have a self-healing mat and fresh blades, as dull blades tear the cardstock and ruin the crisp edges needed for the shadow effect.
Also, think about the placement of the final piece. If you are building a lit shadow box, consider where the battery pack for the lights will sit. Some frames have built-in compartments, while others may require you to discreetly tape the pack to the back of the frame or hide it behind a decorative element. Planning this ahead prevents the need for messy last-minute adjustments.
The Elephant 3D Shadow Box Template is more than just a file; it is a starting point for creativity. Whether you are looking to fill a blank wall in your living room, create a heartfelt gift that shows you invested time and effort, or develop a new product line for your craft business, this resource provides the structural foundation you need. By respecting the technical guidelines regarding resizing and material selection, and by choosing the right lighting approach for your goals, you can produce a professional-quality piece that captures attention and sparks conversation.