Crafting Depth: Evaluating the 3D Santa Sleigh Shadow Box for Holiday Decor
The holiday season often inspires a shift from standard flat decorations to more immersive, tactile displays. Among the various methods available to crafters and interior design enthusiasts, the 3D Santa Sleigh Shadow Box has emerged as a distinct category of Christmas decor. Unlike traditional wall art or simple cutouts, this approach utilizes layering to create depth, turning a static image of Santa's sleigh into a dynamic scene that interacts with light and shadow. For adults exploring DIY projects or seeking unique gifts, understanding the mechanics, material requirements, and comparative advantages of this format is essential before committing time and resources.
Defining the Medium: Layered Paper Art vs. Traditional Decor
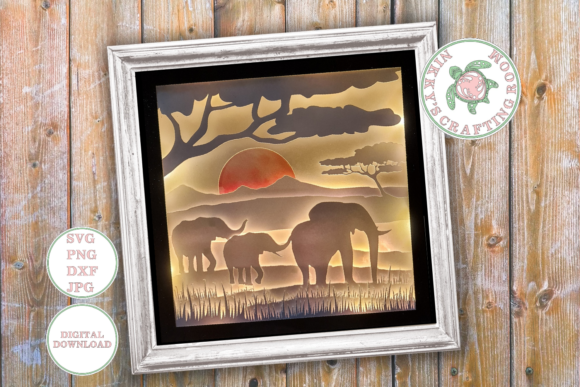
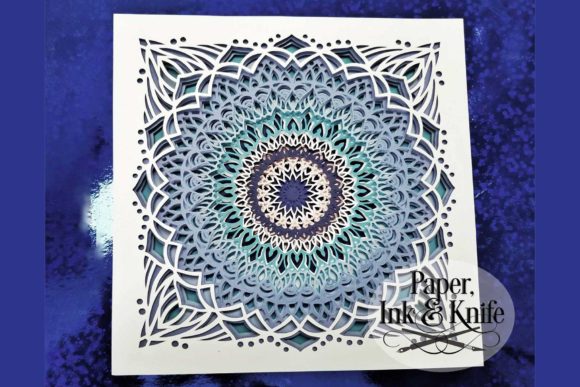
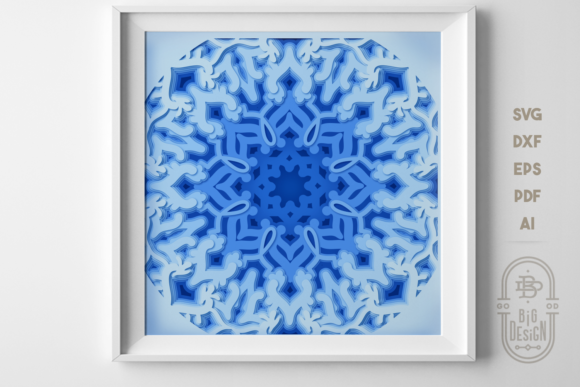
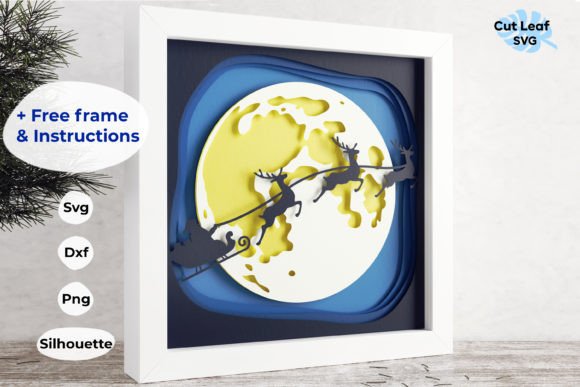
A 3D Santa Sleigh Shadow Box is fundamentally a construction of multiple layers of cardstock or paper, stacked with spacers to create physical distance between elements. In the specific context of the popular designs currently circulating in crafting communities, the scene typically consists of six distinct layers. These are numerically ordered to guide the assembler through a logical buildup, starting from the background sky or stars and moving forward to the foreground elements like reindeer, the sleigh, and finally, the frame itself.
What makes this distinct from a standard printed poster or a single-layer vinyl decal is the interplay of light. As light hits the different depths, it casts micro-shadows that give the illusion of movement and volume. When comparing this to other Christmas crafting options, such as cross-stitch patterns, painted canvases, or pre-made plastic ornaments, the shadow box offers a middle ground. It provides the customizability of a handmade item without requiring the advanced artistic skills needed for painting or the significant time investment of needlework. It is a structural project rather than a purely artistic one, relying on precision cutting and assembly rather than brushstrokes.
Evaluating File Formats and Machine Compatibility
For those researching the best way to execute this project, the availability of digital files is a primary decision factor. The utility of a 3D Santa Sleigh Shadow Box design largely depends on the file formats provided and how they integrate with your existing tools. High-quality listings in this niche typically offer a comprehensive suite of formats to ensure compatibility across the spectrum of cutting machines and design software.
When evaluating potential downloads, consider the following format breakdown and its practical application:
- SVG (Scalable Vector Graphics): This is the industry standard for users of Cricut Design Space and Silhouette Designer Edition. Its primary advantage is scalability; the vector paths allow you to resize the sleigh design to fit any frame dimension without losing resolution or causing jagged edges.
- DXF (Drawing Exchange Format): Essential for owners of the Silhouette Basic Edition or those utilizing CNC machines. While less feature-rich than SVG in some software environments, it ensures that basic cut lines are preserved for legacy or entry-level hardware.
- Silhouette Studio Files: Some designers provide native files specifically prepared for Silhouette Studio. These often include pre-set cut settings or grouped elements that streamline the workflow, reducing the need for manual cleanup within the software.
- EPS (Encapsulated PostScript): Ideal for professional graphic designers using Adobe Illustrator, Corel Draw, or Inkscape. This format offers the highest level of editability, allowing users to modify individual vectors, change line weights, or alter the design structure before sending it to a cutter.
- PNG (Portable Network Graphics): While not a cut file, a high-resolution PNG with a transparent background is valuable for sublimation projects, digital mockups, or for users who wish to print the layers on a standard inkjet printer before hand-cutting.
The presence of all five formats indicates a resource designed for flexibility. If you are comparing different design providers, prioritize those that offer SVG and EPS alongside machine-specific files, as this future-proofs your purchase against software updates or machine changes.
Material Constraints and Frame Sizing Considerations
A critical aspect of planning a shadow box project is understanding the relationship between the digital file size and the physical materials. Many popular 3D Santa Sleigh Shadow Box templates are optimized for an 8.5 x 8.5 inch inner frame size. This is a strategic choice for several reasons. First, it aligns perfectly with standard 8.5 x 11-inch cardstock, minimizing waste. Crafters can arrange the six layers efficiently on a single sheet or two sheets of paper, depending on the complexity of the negative space.
However, this sizing also presents a limitation that buyers must evaluate. If your goal is to create a large statement piece for a mantle or a grand entryway, a fixed 8.5 x 8.5 design may feel too small. While vector files (SVG, EPS) are theoretically scalable to any size, practical limitations arise with materials. Scaling up significantly requires larger sheets of cardstock or the skillful piecing together of smaller sheets, which can introduce visible seams and compromise the structural integrity of the layers. Conversely, scaling down too much can make the intricate details of the sleigh and reindeer difficult to weed and assemble.
Furthermore, the "free frame" mentioned in many listings usually refers to the digital cut file for the outer border, not a physical product. You must source a physical shadow box frame with an 8.5 x 8.5 opening. Standard deep-box frames are readily available at craft stores, but verifying the internal depth is crucial. With six layers of cardstock plus foam spacers, the total depth can exceed 0.5 inches. A shallow frame may crush the layers, flattening the 3D effect, while a frame that is too deep might require additional mounting strategies to keep the layers centered and secure.
Assembly Complexity and Time Investment
One of the most common questions among adults considering this project is the time commitment relative to the result. The inclusion of a Layers Guide and PDF instructions is a significant value-add that distinguishes well-designed products from amateur uploads. Without numbered layers and a visual guide, assembling six similar-looking cutouts can be frustrating and error-prone.
In terms of tradeoffs, the shadow box approach requires more assembly time than a simple print-and-frame job but less time than constructing a wooden diorama. The process involves:
- Cutting: Depending on your machine speed, cutting six intricate layers can take 15–30 minutes.
- Weeding: Removing excess paper from detailed areas like sleigh runners or star shapes requires patience and fine-tipped tools.
- Spacing: Applying foam adhesive squares or rolled tape between each layer is the most time-consuming step. Consistency here is key; uneven spacing can tilt the layers, causing them to touch the glass or the backboard.
- Alignment: Ensuring all six layers are perfectly concentric requires a steady hand and often a light table or a bright window for visibility.
For beginners, the learning curve lies in managing the adhesive. Too much glue can warp the cardstock, while too little can cause layers to shift over time. Experienced crafters often find this meditative, but those looking for a quick, under-10-minute project might find the assembly process demanding. It is best suited for individuals who enjoy the process of making as much as the final display.
Decision Factors: Is This Project Right for You?
Choosing to pursue a 3D Santa Sleigh Shadow Box depends on your specific goals, available tools, and aesthetic preferences. This option is likely the right choice if you value dimensional art, possess a cutting machine (or access to one), and enjoy detailed assembly work. It serves as an excellent personalized gift, as the effort involved conveys a level of care that store-bought items rarely match. Additionally, because the files are scalable, it offers the potential for creating matching sets in varying sizes for different rooms.
However, alternative approaches may be better suited for different scenarios. If you lack a cutting machine and do not wish to hand-cut intricate details, a pre-assembled shadow box or a printed canvas might be more practical. Similarly, if you are working with a very tight budget, the cost of purchasing a deep-frame shadow box, specialty cardstock, and adhesive can add up, potentially exceeding the cost of a mass-produced decoration. Finally, if you prefer a rustic or organic look, paper crafts may feel too polished; in such cases, wood slice ornaments or fabric-based decor might align better with your style.
Ultimately, the appeal of the 3D Santa Sleigh Shadow Box lies in its balance of accessibility and sophistication. It transforms simple cardstock into a captivating holiday vignette through the clever use of layering and light. By carefully evaluating the file formats, frame constraints, and assembly requirements, you can determine whether this layered approach fits your holiday crafting strategy or if another medium would better serve your decorative needs.